Okta Integration#
Okta Configuration#
Follow the steps below to connect.
-
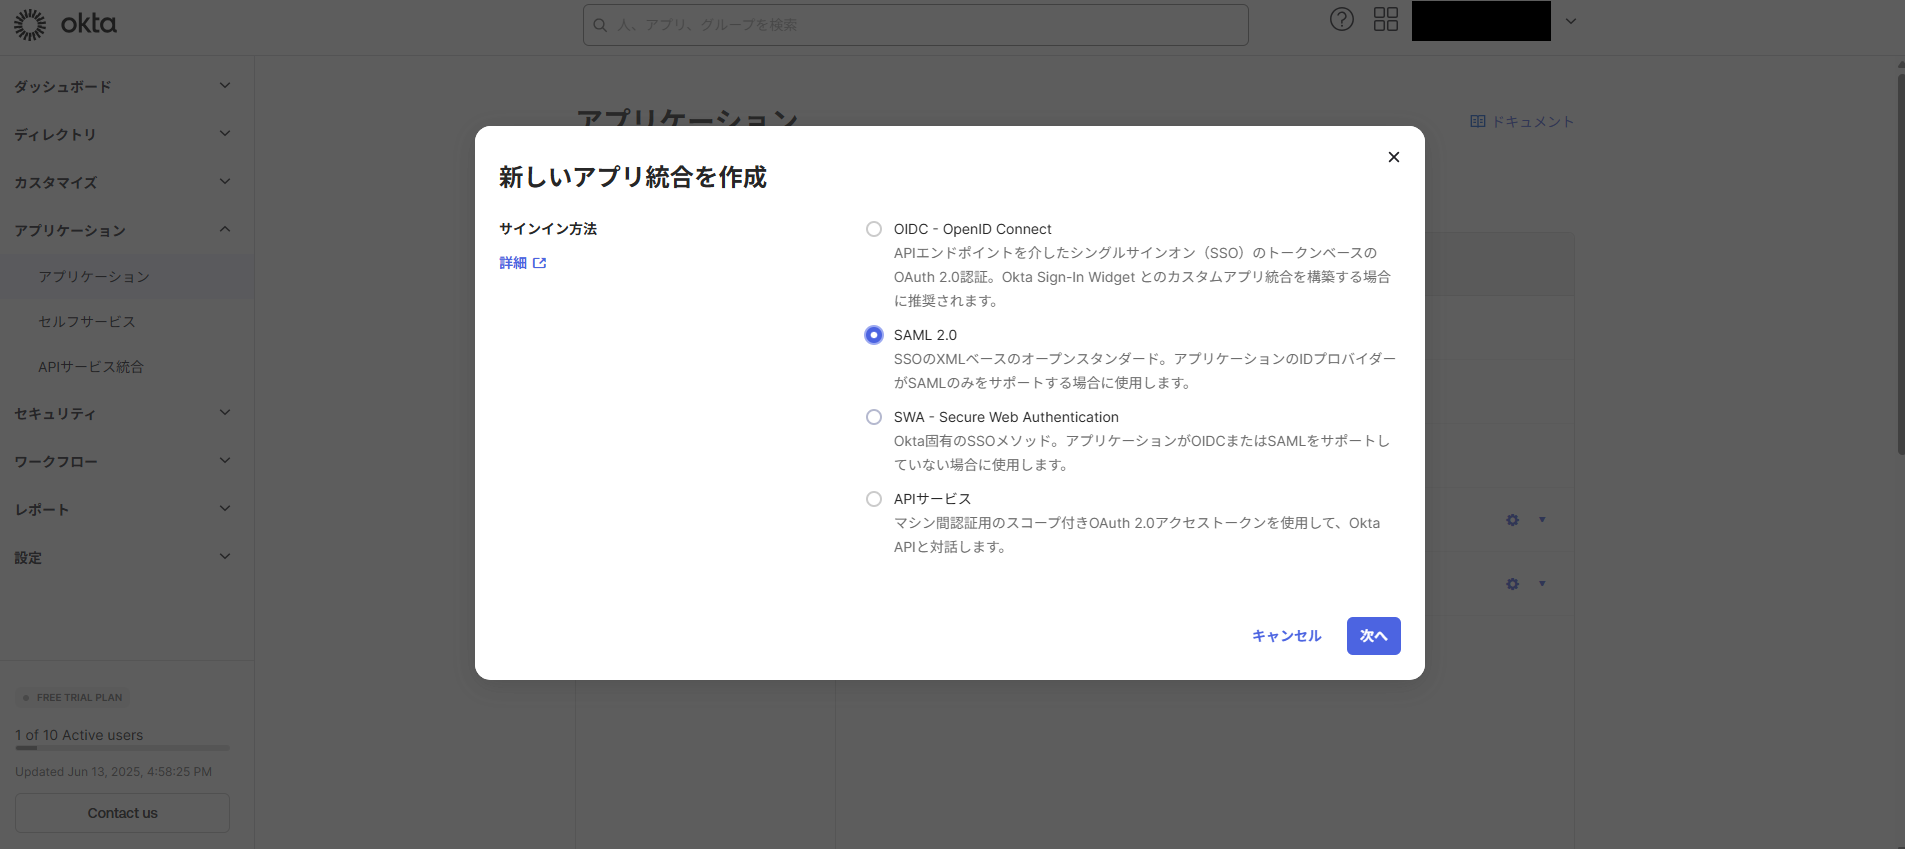
From the application screen, click "Create a New App Integration" and select SAML 2.0.
-
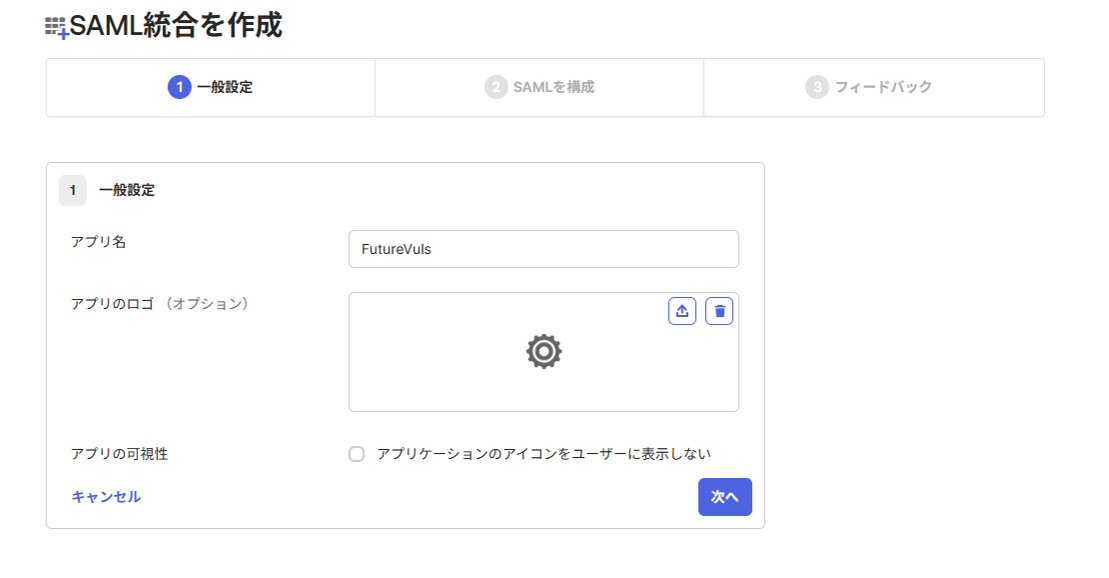
In the General Settings, enter an application name. (e.g., FutureVuls)
-
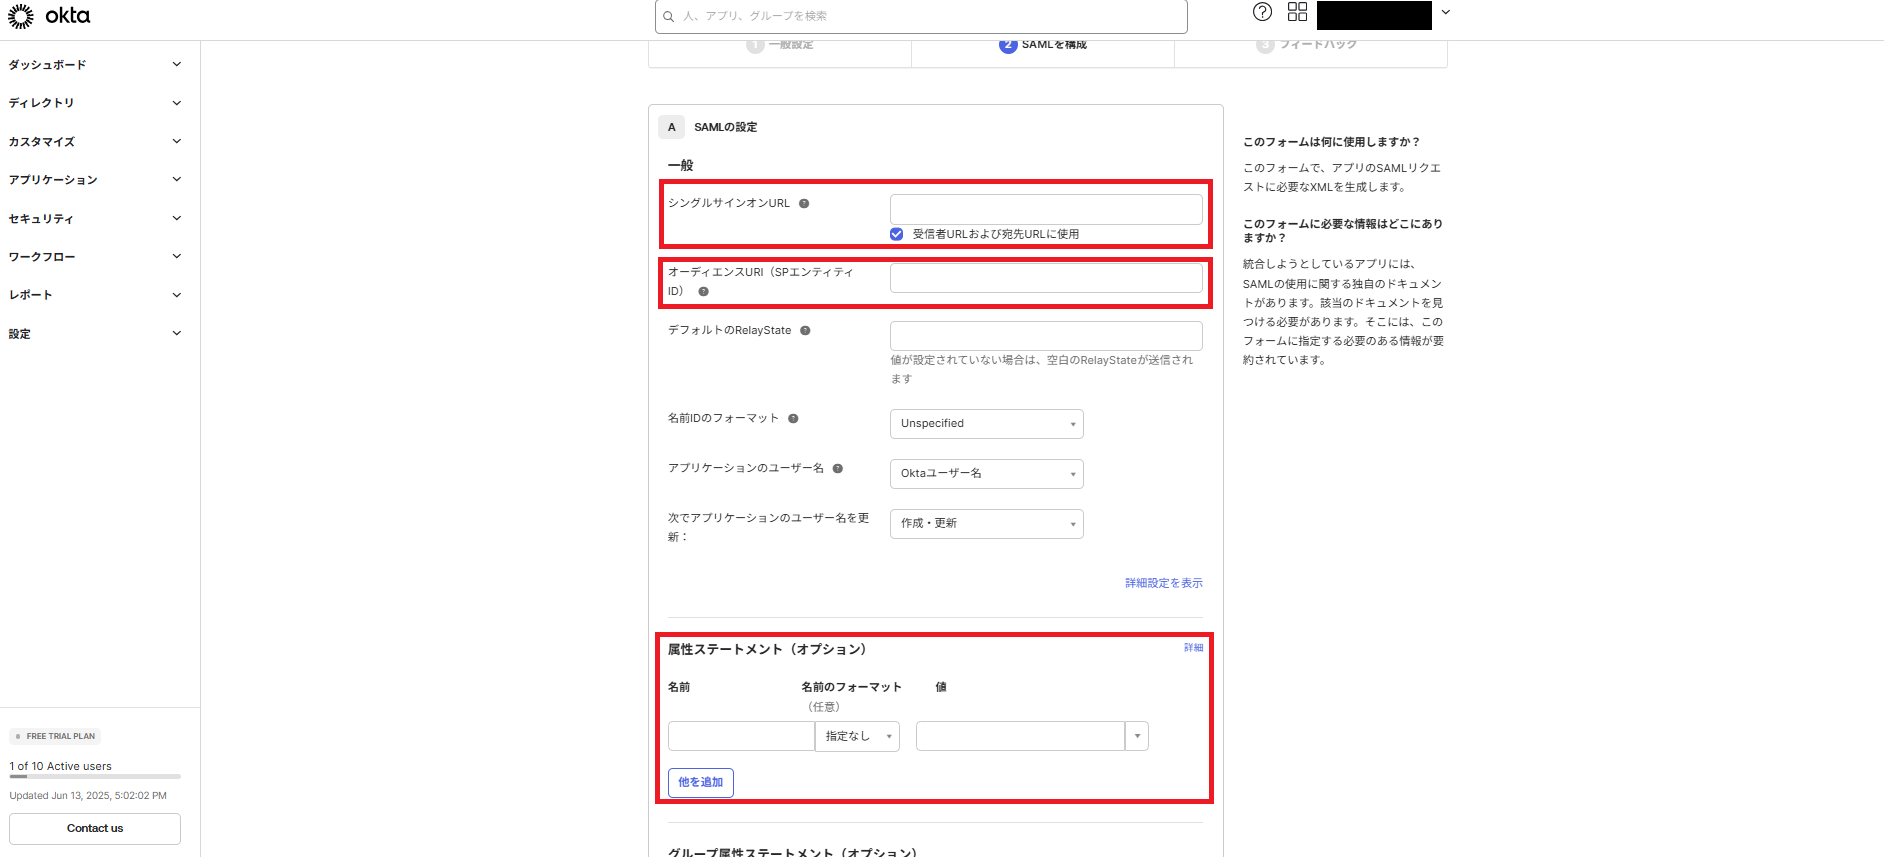
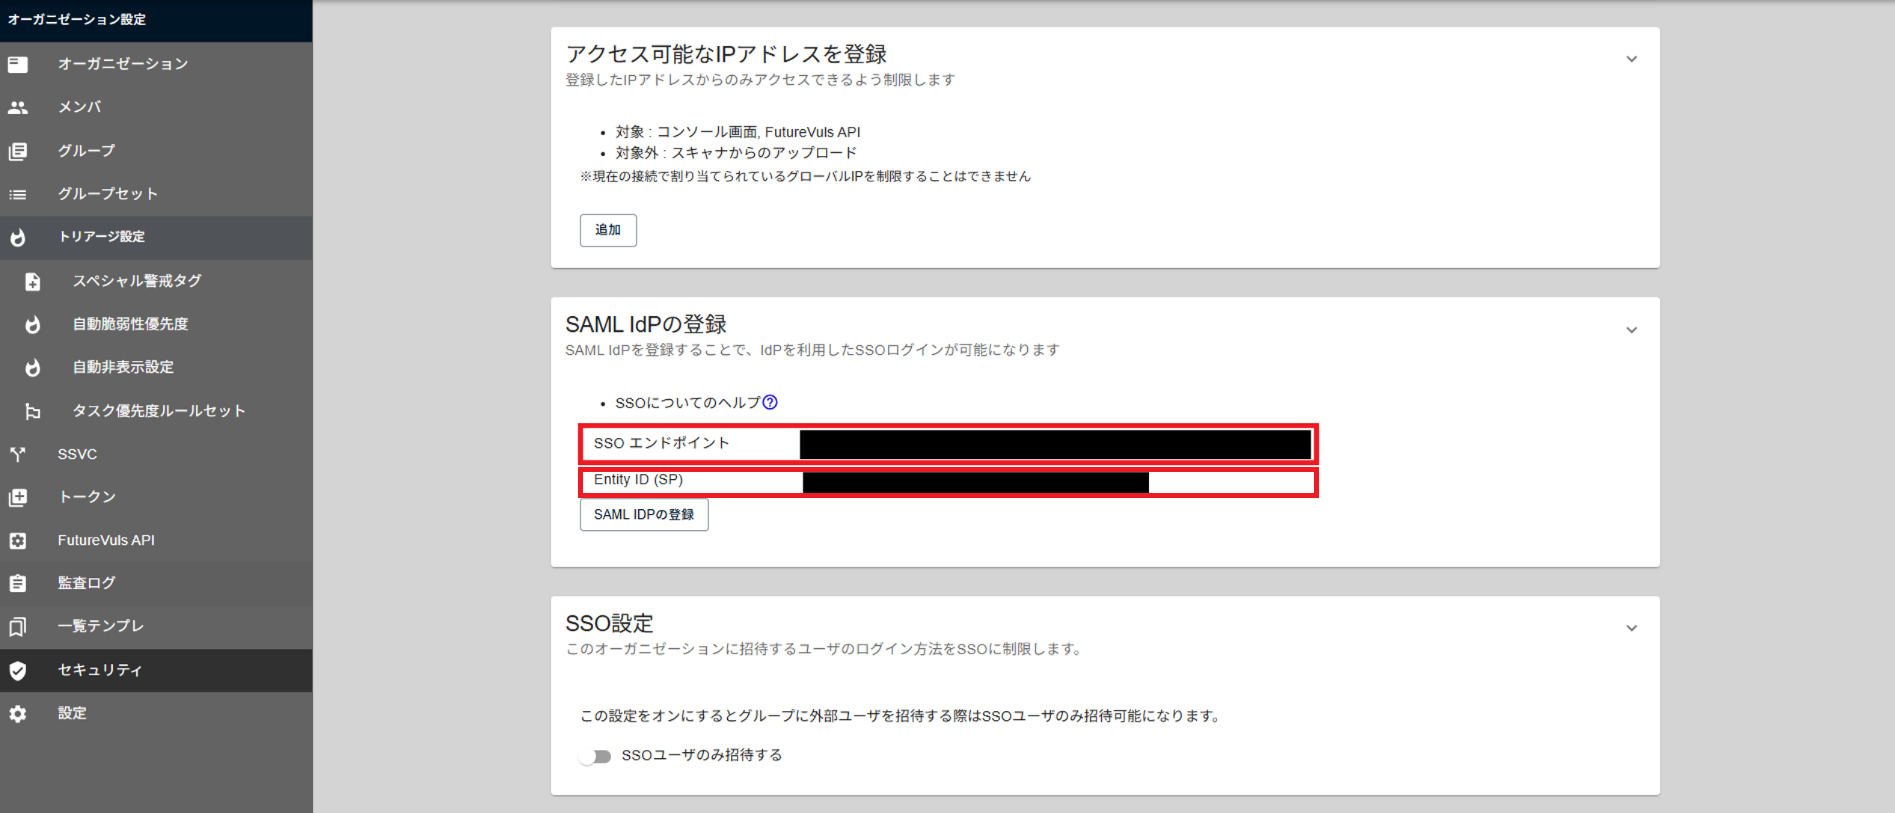
In the SAML Settings, enter the following:
- Single sign-on URL: The "SSO Endpoint" displayed on the FutureVuls screen
- Audience URI (SP Entity ID): The "Entity ID" displayed on the FutureVuls screen
-
Attribute Statements (Optional):
- Name:
http://schemas.xmlsoap.org/ws/2005/05/identity/claims/emailaddress - Value:
user.email
- Name:
After completing the configuration, select a valid certificate from the SAML Signing Certificates and check the metadata URL from the "Actions" menu.
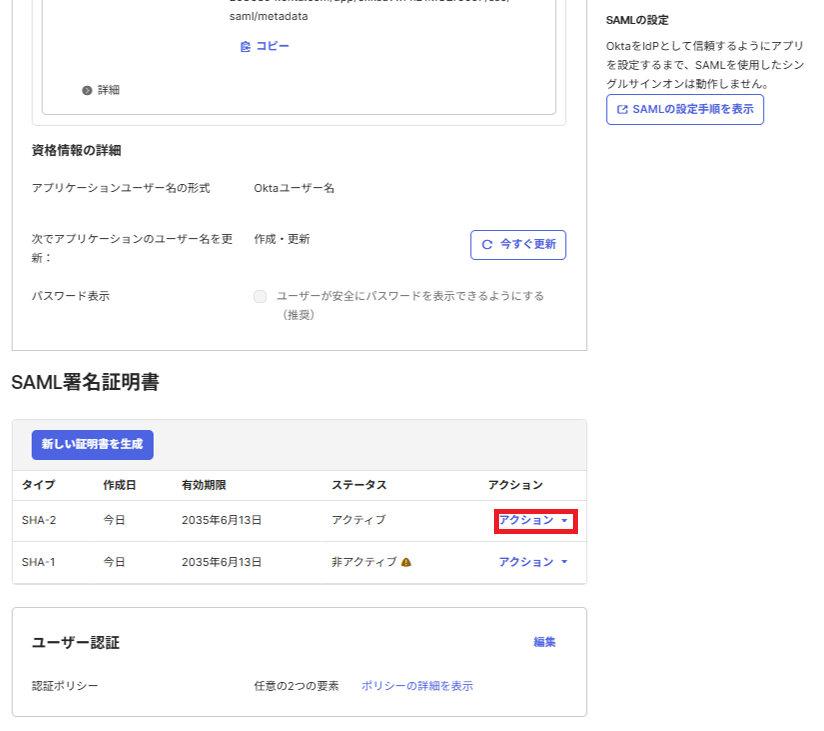
You will register this URL in FutureVuls.
FutureVuls Configuration#
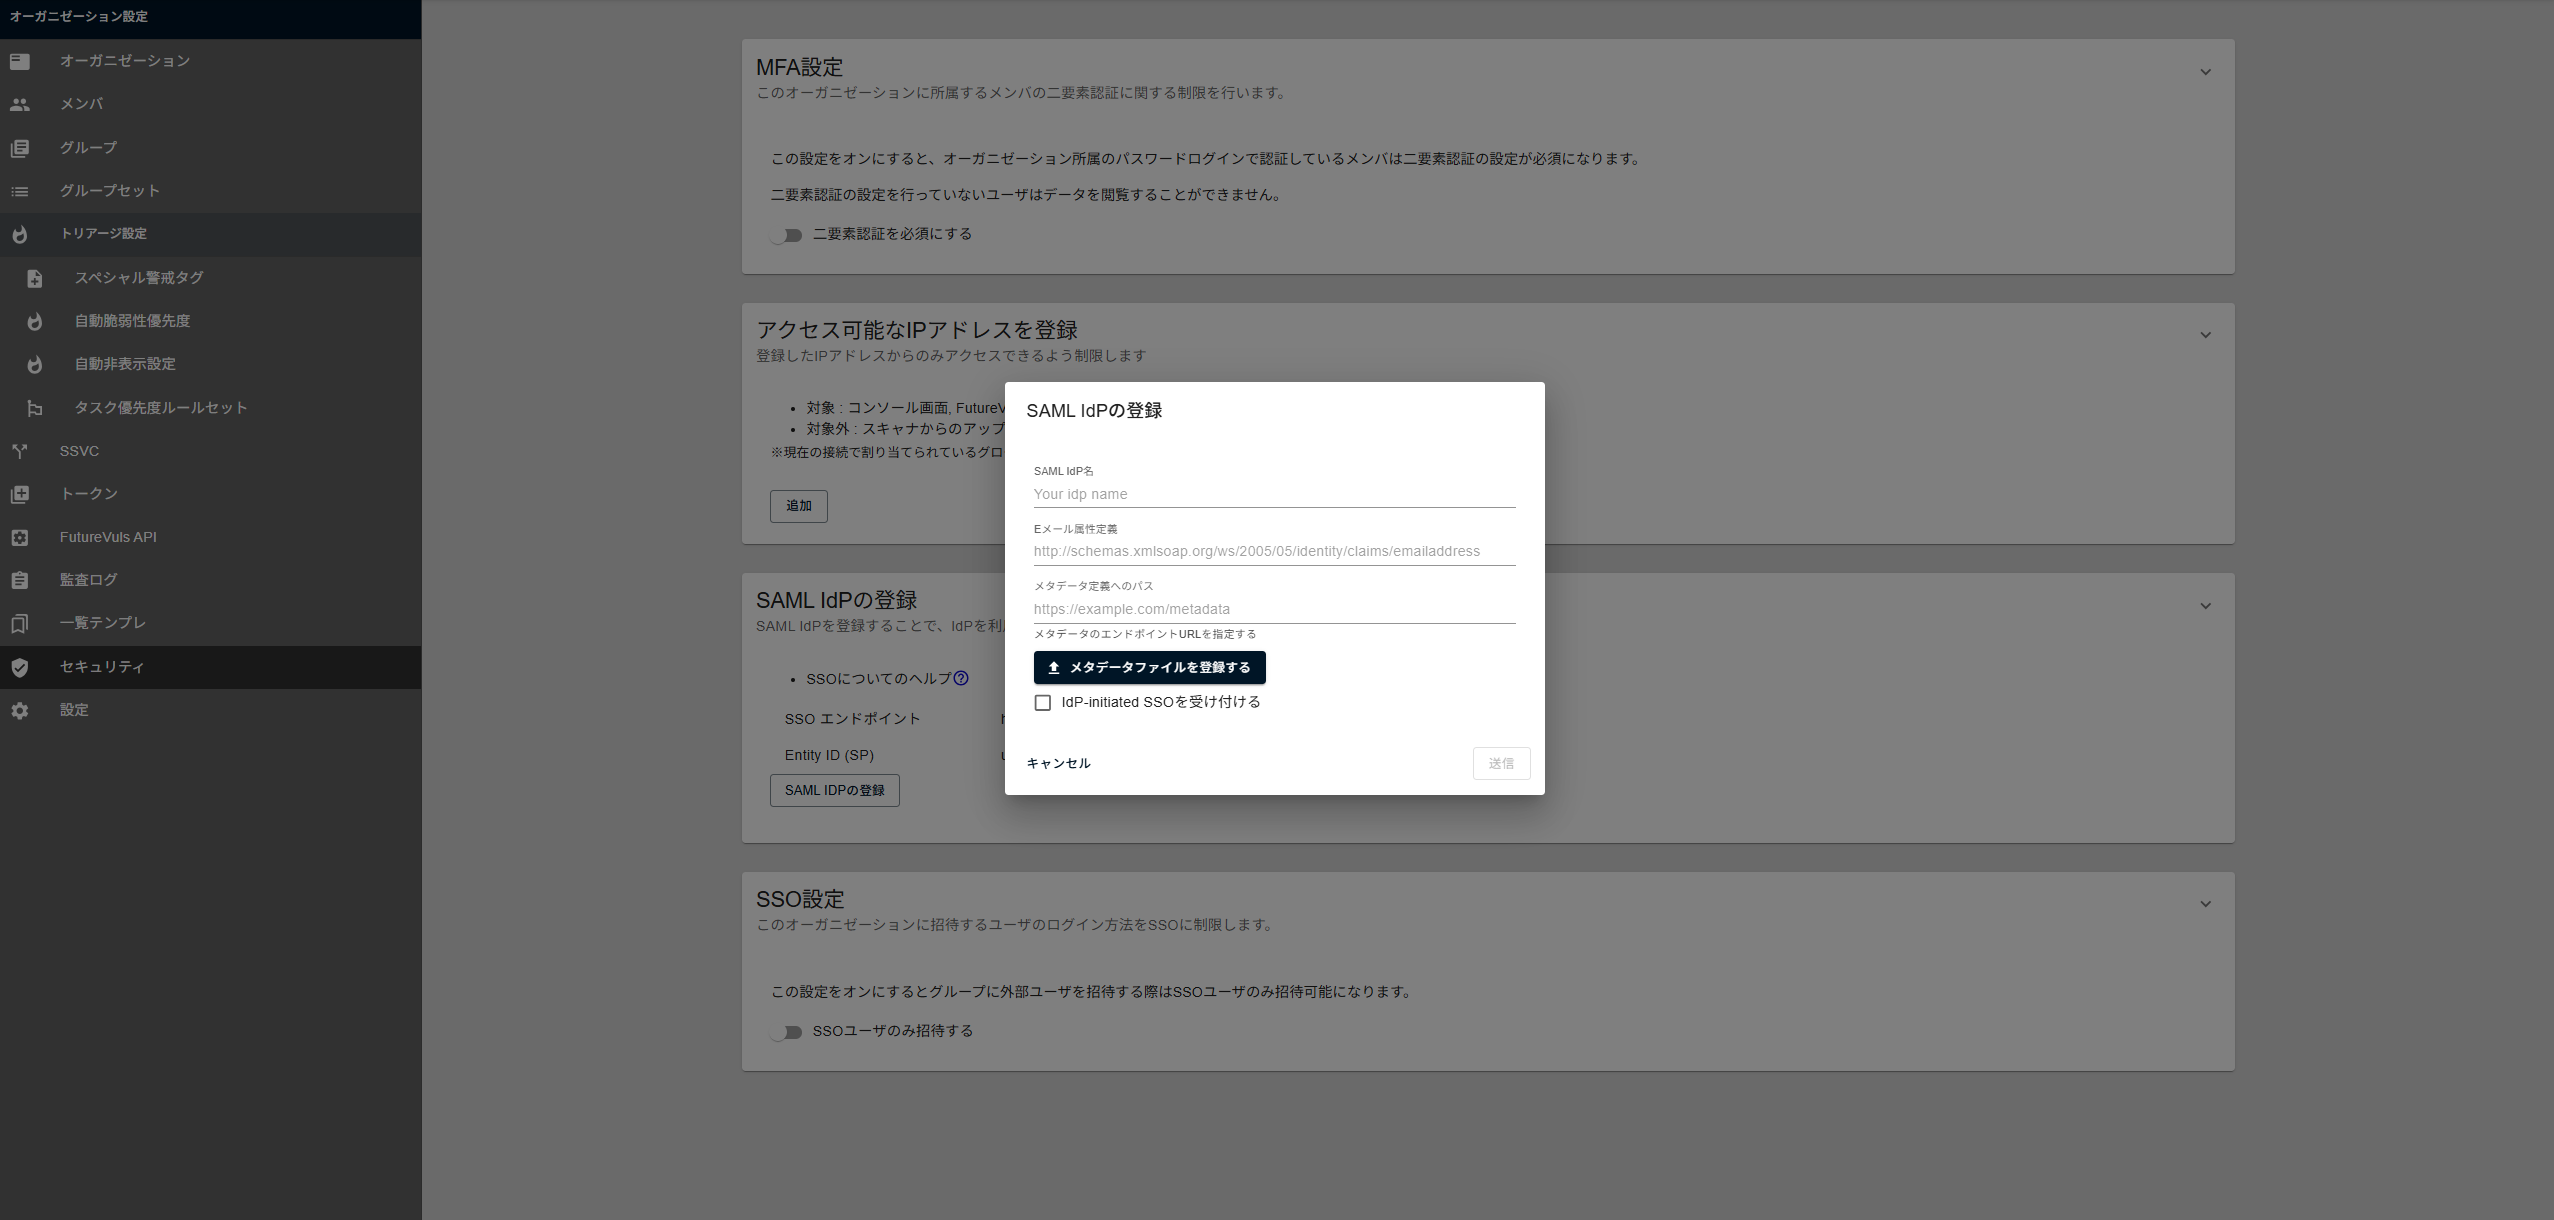
When configuring FutureVuls, enter the following:
- Email Attribute Definition:
http://schemas.xmlsoap.org/ws/2005/05/identity/claims/emailaddress - Path to Metadata Definition: The metadata URL found under "Actions" for the valid certificate in SAML Signing Certificates from the previous step.
To use IdP-initiated SSO#
-
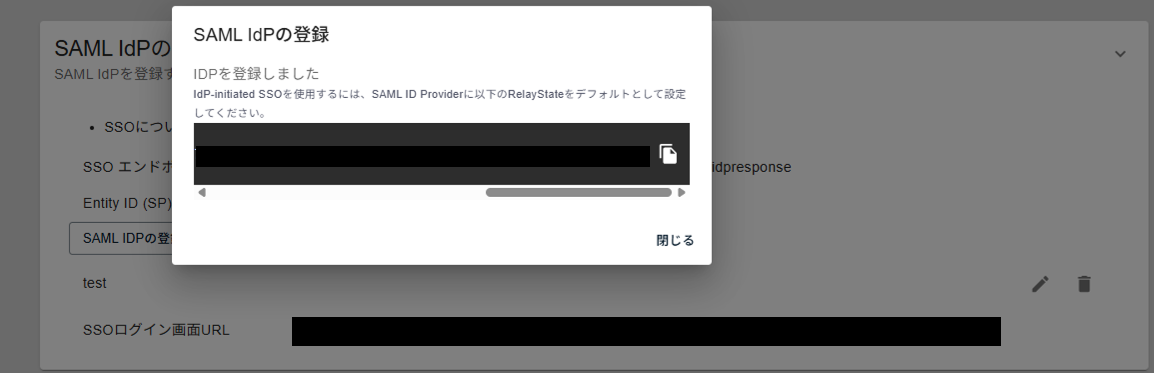
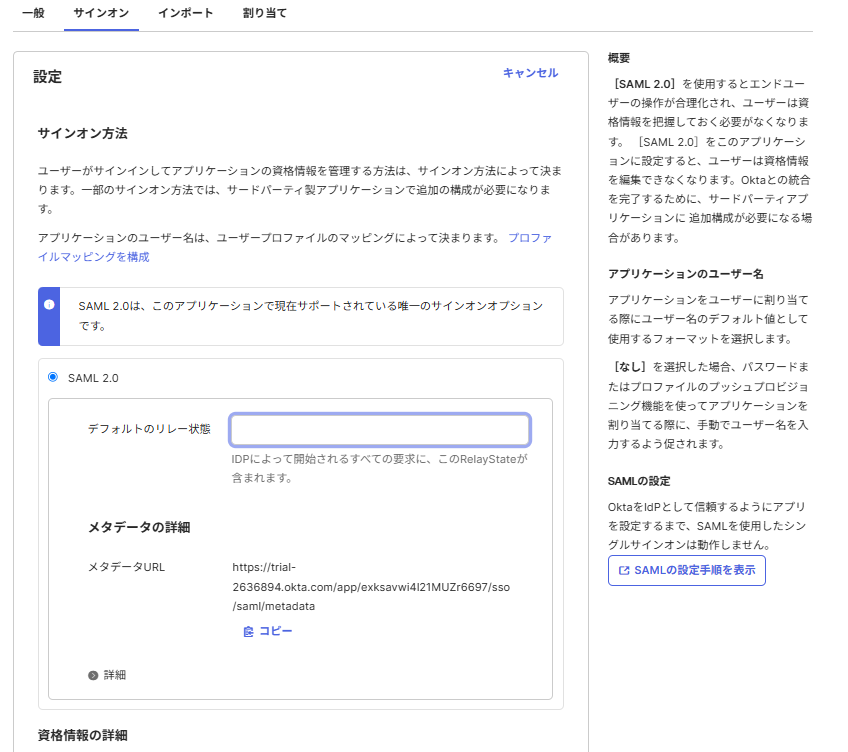
After registering the IdP in the FutureVuls settings, copy the displayed RelayState and enter it in the "Default Relay State" field for SAML 2.0 under Applications > Sign On > Settings on the Okta admin screen. The RelayState can also be found on the IdP edit screen in FutureVuls.
-
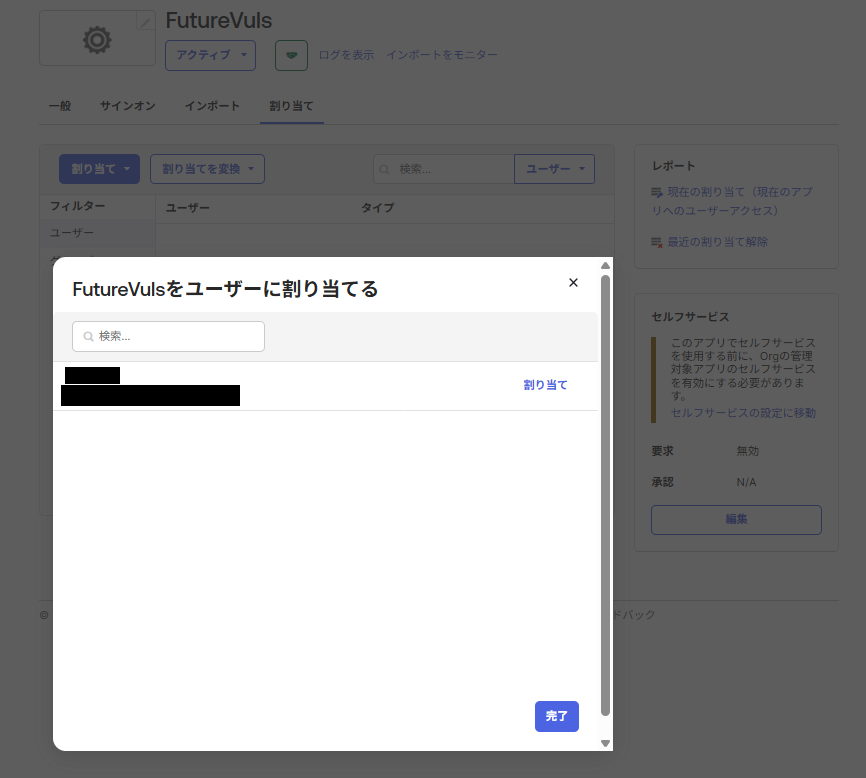
From the Okta admin screen, under Applications > Assignments, assign the application to the users who will use IdP-initiated SSO.
-
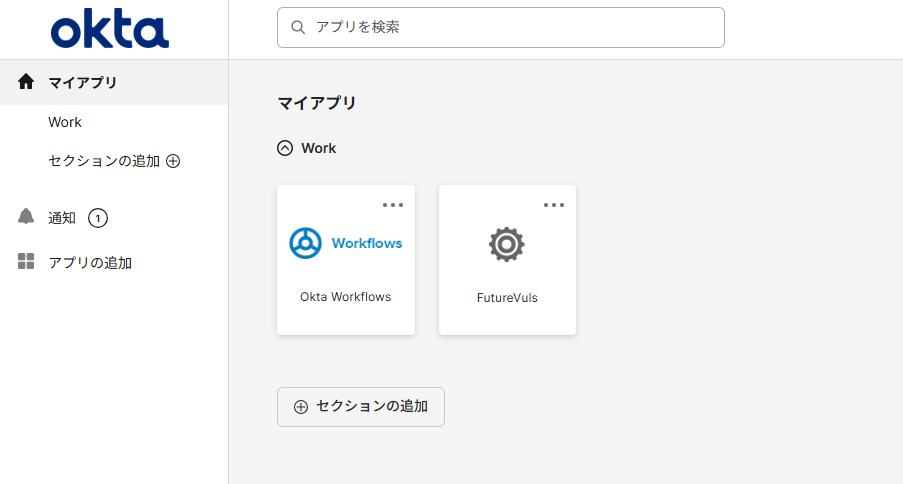
From Okta's My Apps page (
/app/UserHome), you can log in via IdP-initiated SSO by clicking the FutureVuls application.