Docker Scan (Trivy)#
aquasecurity/trivy is an open-source tool that detects vulnerabilities in Docker images. FutureVuls can import Trivy scan results, allowing you to manage container image vulnerabilities on the FutureVuls platform.
Alternatively, you can integrate with Amazon ECR or Google Artifact Registry to scan for vulnerabilities in Docker images stored on a container registry.
For container image scanning with Trivy, the following two patterns are available:
About the Scan Target#
For scan targets, please refer to Supported Environments. For details on other supported languages and package ecosystems, please refer to "Trivy Supported OS."
Scanning by Installing Trivy in a Local Environment#
Install Trivy in your local environment, scan a container image, and upload the results to FutureVuls. With this method, you can choose between two installation modes: the standard version and the lightweight version. The differences between them are as follows.
| Item | Description | Standard Version | Lightweight Version |
|---|---|---|---|
| Root Privileges | Whether root privileges are required for installation | Required | Not required |
| Supported Environments | Supported local environments | Reference | General Linux |
| Scheduled Scans | Whether images are automatically scanned on a schedule | Supported | Not supported |
The lightweight version does not require root privileges, but you must manually scan container images periodically. To ensure that container image configuration changes are always synchronized with FutureVuls and vulnerability information is kept up-to-date, we generally recommend scanning with the standard version whenever both modes are available to you.
Scanning a New Container Image#
Server Name Specification Change (Effective July 14, 2025)
The specification for server names registered during a Trivy Scan has been changed. - Before: Image Name:Tag (e.g., myapp:v1.0.0) - After: Image Name only (e.g., myapp)
On the server list screen, the actual scanned image name and tag are now displayed separately. This allows you to manage different versions of the same image in one place.
To scan a new container image and register it in FutureVuls, follow these steps.
-
Click the
Add Serverbutton on the Server tab to open the dialog, then selectContainer Image Scan.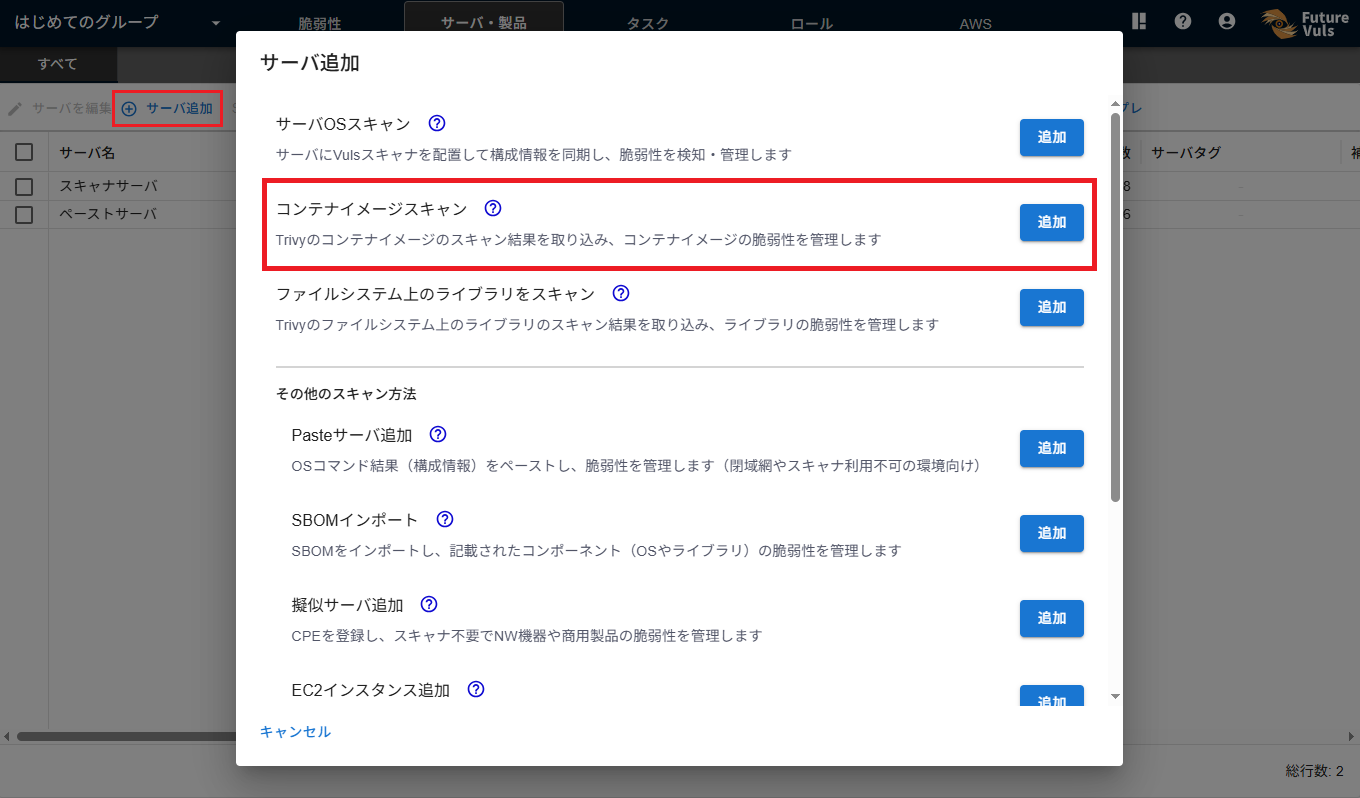
-
Select a scanner token and enter the name of the container image to be scanned. - Specify it in the
<image_name>:<tag>format. - To always scan the latest version of the image, specify<image_name>:<latest>. - If you use a proxy, enter the proxy server to use.
- If using the lightweight version, enable the toggle switch.
- Copy the command displayed at the bottom of the screen, paste it into a terminal on the machine where the target image is managed, and execute it. - For the standard version, please execute with root privileges.
- In FutureVuls, verify that the scanned image has been added to the Server tab of the target group.
- For the standard version, it may take 5-10 minutes for the results to appear in FutureVuls.
- If you want to run a scan immediately after installation, execute the following command:
-
/opt/vuls-trivy-saas/vuls-trivy-saas.sh &> /opt/vuls-trivy-saas/vuls-trivy.log
Registration is now complete. If you are using the standard version, the scanner will automatically run once a day to scan the target container image and sync the results to FutureVuls.
In the standard version, you can manually add scan options for target container images/libraries to config.toml.
For details, please see Configurable Options for Trivy Scans.
If the scan results do not appear, please refer to this article.
Updating Information for a Registered Container Image#
Updating Vulnerability Information Based on Registered Configuration Information#
To update vulnerability information based on the configuration of a container image already registered in FutureVuls, please run a manual scan from within FutureVuls.
Reflecting Changes in Container Image Configuration in FutureVuls#
If there are changes to a container image that is already registered in FutureVuls, follow these steps to sync them to FutureVuls.
- For the standard version:
- No action is required as the scanner automatically runs once a day to scan the image.
- To start the scanner immediately, execute the following command as the
rootuser orvuls-trivy-saasuser./opt/vuls-trivy-saas/vuls-trivy-saas.sh &> /opt/vuls-trivy-saas/vuls-trivy.log
-
For the lightweight version:
- In the Server tab, click the target container image to open its details page.
-
Click the
Update Configuration Informationbutton to open the dialog.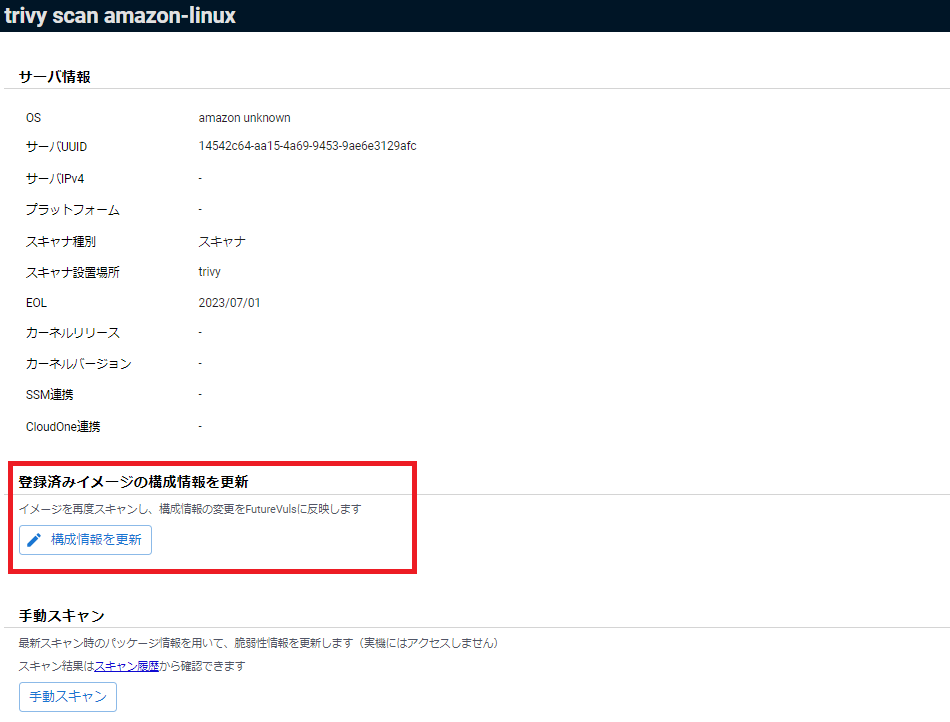
-
Select a scanner token and enter the name of the container image to be scanned.
- If you use a proxy, enter the proxy server to use.
- Copy the command displayed at the bottom of the screen, paste it into a terminal on the machine where the target image is managed, and execute it.
Configurable Options for Trivy Scans#
With the standard version of Trivy scan, you can specify scan options using the /opt/vuls-trivy-saas/config.toml file.
For details, please see "Scanner Behavior Settings."
If Scanning Fails#
Please refer to the FAQ.