Proxy Settings
FutureVuls requires access to the Internet from the scan execution server during “installation” and “upload of scan results”. If your environment requires access to the Internet via a proxy server, please configure the following settings.
For Linux
During installation
Set the proxy to the environment variable before installation.
export http_proxy="http://<proxy server address or hostname>:<port number>"
For a proxy with authentication, use the following format.
export http_proxy="http://<proxy user>:<proxy password>@<proxy server address or hostname>:<port number>"
Running the installer is the same as the normal procedure. After installation is complete, refer to the “After Installation” section below and configure the settings.
After Installation
Please configure the following so that scan results can be uploaded through a proxy.
Edit the file “/opt/vuls-saas/vuls-saas.sh” and change the following section.
#! /bin/bash

## If you are using proxy, please uncomment ##
## PROXY="http://<modify>:<port>"
↑↑↑ Remove the comment out, set the address or hostname and port number of the proxy server according to your environment, and save the file. ↑↑↑↑

For a proxy with authentication
PROXY ="http://<proxy user>:<proxy password>@<proxy server address or host name>:<port number>"

~~~~ Omitted below ~~~~
If the error occurs in a proxy environment please visit here
About Windows
During installation (Windows)

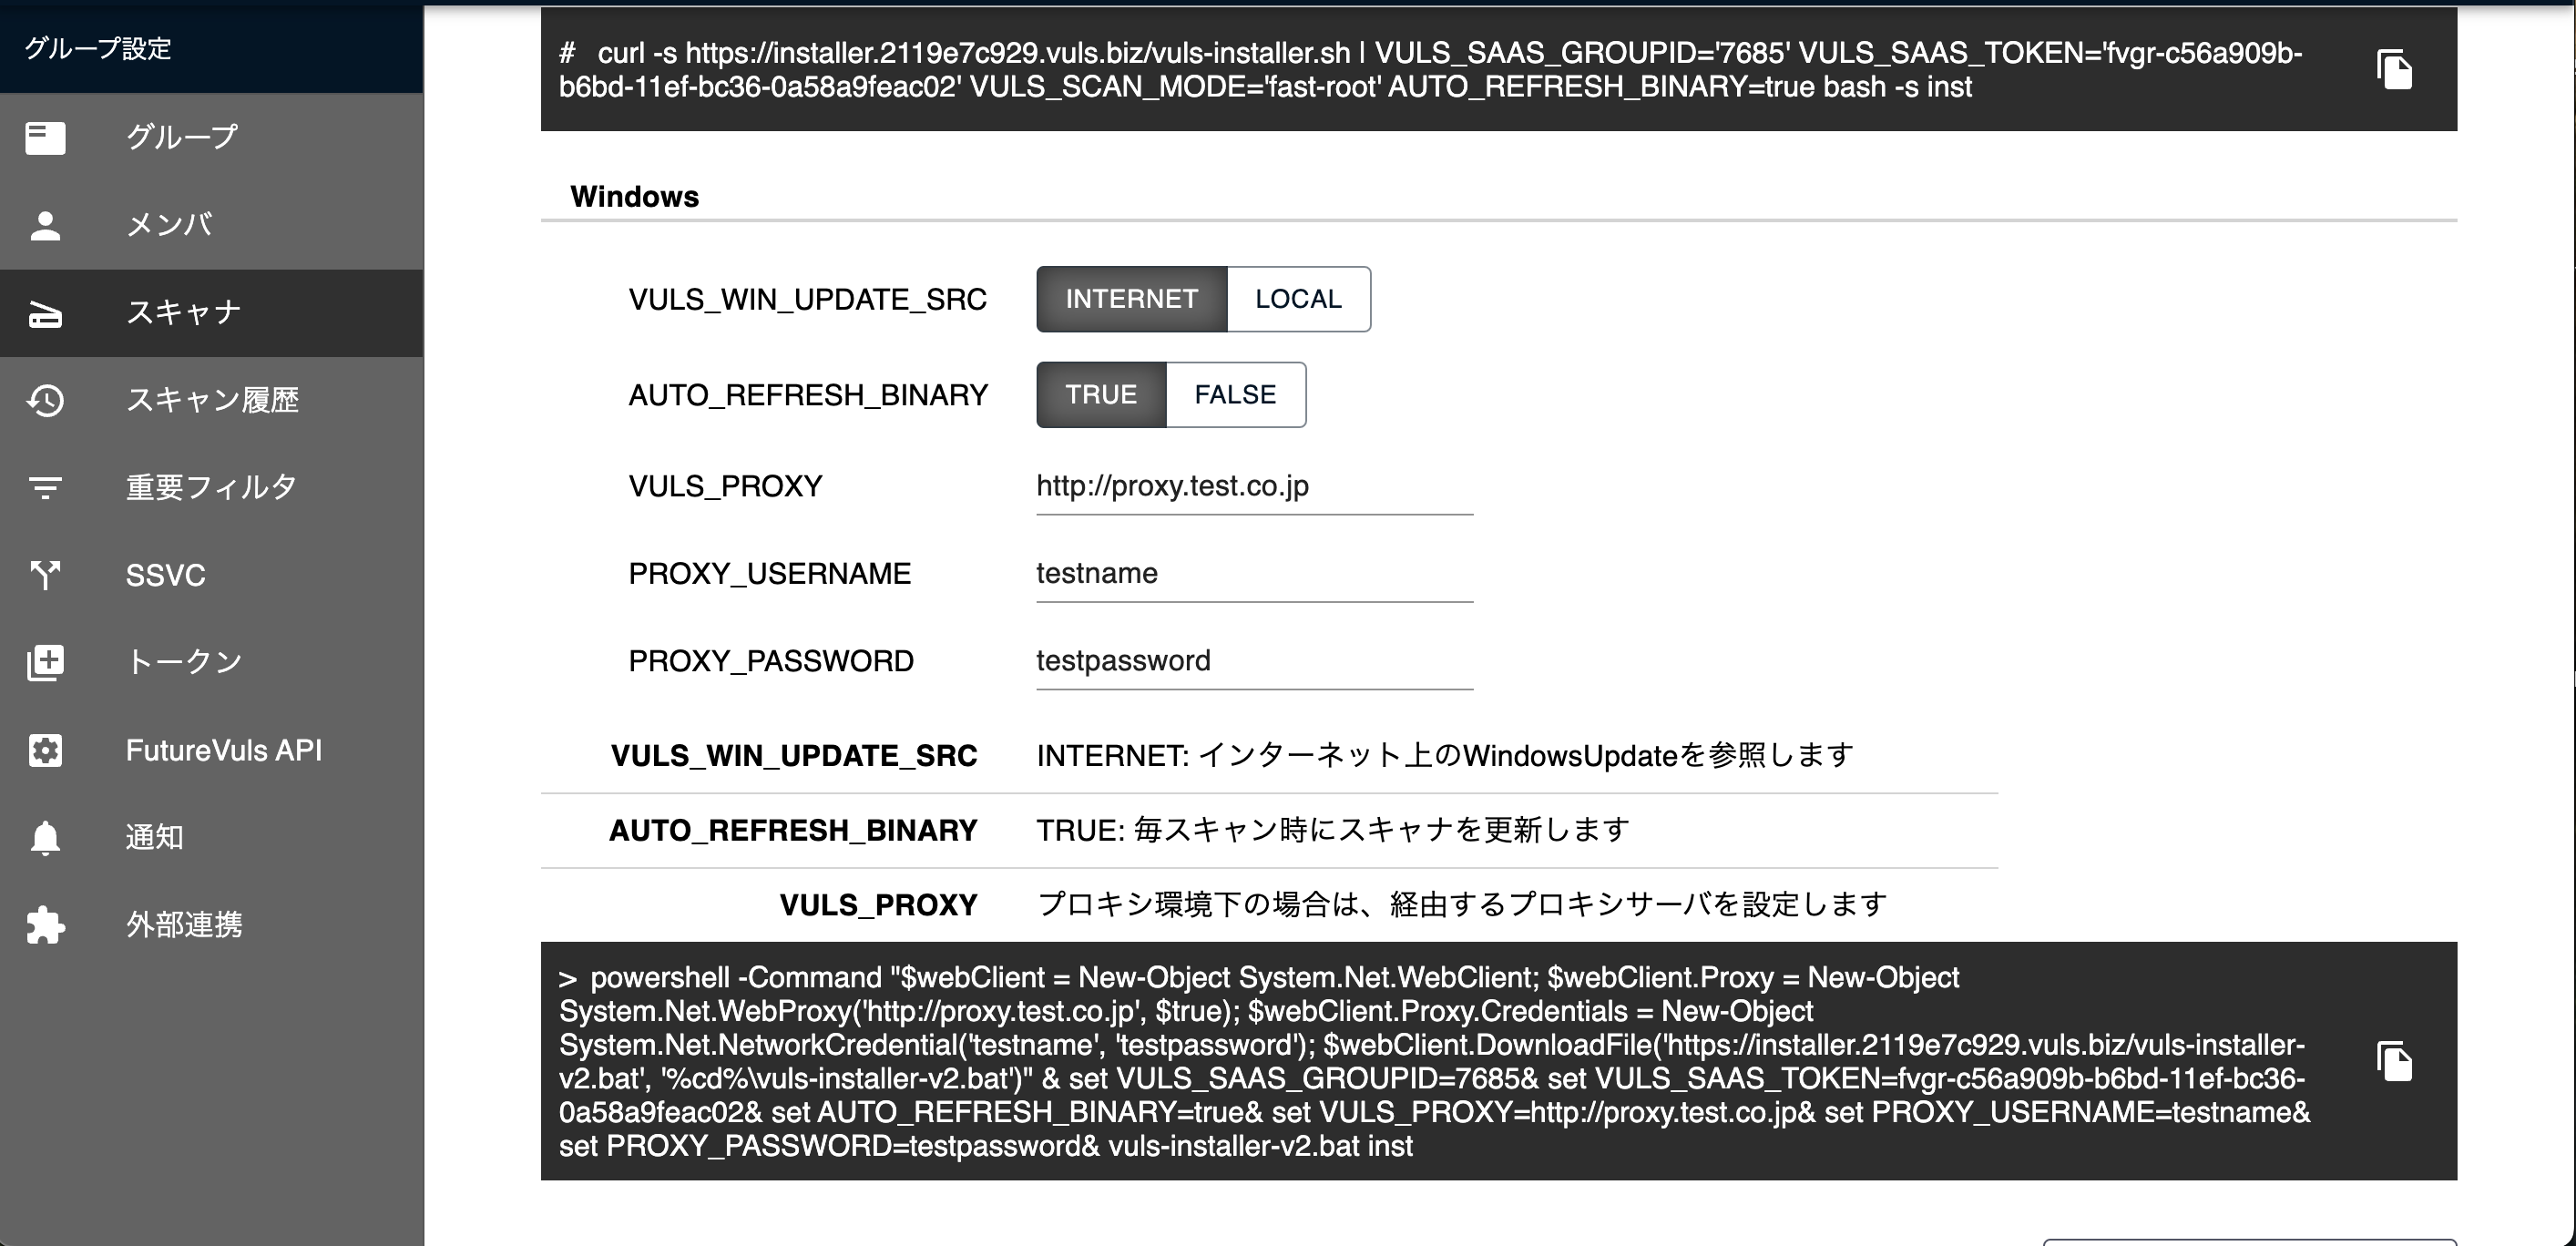
If you installed the Windows Scanner on or after 2/5/2025, the proxy settings that follow are not required. If you enter the proxy credentials on the Windows Scanner installation screen, the credentials will be automatically included in batch_config.toml during installation, and the proxy settings will be applied to subsequent scans.
Set up Windows OS proxy before installation.
- Start Internet Explorer.
- Click the[Tools]icon and select Internet Options
- Select the “Connections” tab
- Click on “LAN Settings” and enter the proxy server settings
- Click the “OK” button
Running the installer is the same as the normal procedure. After installation is complete, refer to the “After Installation” section below and configure the settings.
After Installation (Windows)
Please configure config.toml so that scan results can be uploaded via proxy.
1. Configuring config.toml
To upload scan results via a proxy, please configure the config.toml file.
Edit and modify the “C:\Program Files\vuls-saas\config.toml” file.
Add the proxy server’s address or hostname and port number according to your environment, and save the changes.
Example:
[Servers]

  [Servers.localhost]
    Host = "localhost"
    UUID = "XXXXXXXX-XXXX-XXXX-XXXX-XXXXXXXXXXX"

[Proxy]
  ProxyURL = "proxy.contoso.com:8080"
  BypassList = "localhost;*.contoso.com"
- The “http://” part of the URL is not necessary
- BypassList should be separated by semicolons
- During Vuls scanner execution, the process scope’s proxy environment variables will be set
2. Configuring netsh
Override the WinHTTP proxy settings used for Windows Update.
- In scanners prior to v0.2.1, the system-wide proxy settings (netsh) were changed to the value set in config.toml when the Vuls scanner was executed.
- In scanners v0.2.2 and later, the system-wide proxy settings will not be changed during Vuls scanner execution.
Update the proxy settings for WinHTTP used when accessing the Windows Update servers during a Vuls scan by executing the netsh command.
You can check the current WinHTTP Proxy settings with the following command:
netsh winhttp show proxy
Here’s an example of how to set the WinHTTP proxy with the following information:
- Proxy URL: proxy.contoso.com:8080
- BypassList: localhost;*.contoso.com
netsh winhttp set proxy proxy.contoso.com:8080 "localhost;*.contoso.com"
Changing the WinHTTP settings using netsh affects the entire OS and may impact the communication of other applications. For example, in environments with multiple proxies or applications that internally reference WinHTTP proxy settings, changing the WinHTTP proxy settings may affect communication.
Thoroughly test in a non-production environment before applying changes to the production environment.
Reference: Use Group Policy to apply WinHTTP proxy settings to Windows clients